Welcome, candle enthusiasts, to a creative journey through the enchanting world of whipped wax! If you've ever dreamed of creating candles that resemble fluffy clouds or billowy frosting, then you're in for a treat. Today, we're exploring the whimsical technique of whipped wax, complete with tips, tricks, and all the creative inspiration you need to bring your candle-making visions to life.
First, let's answer the REAL question...What is Whipped Wax?
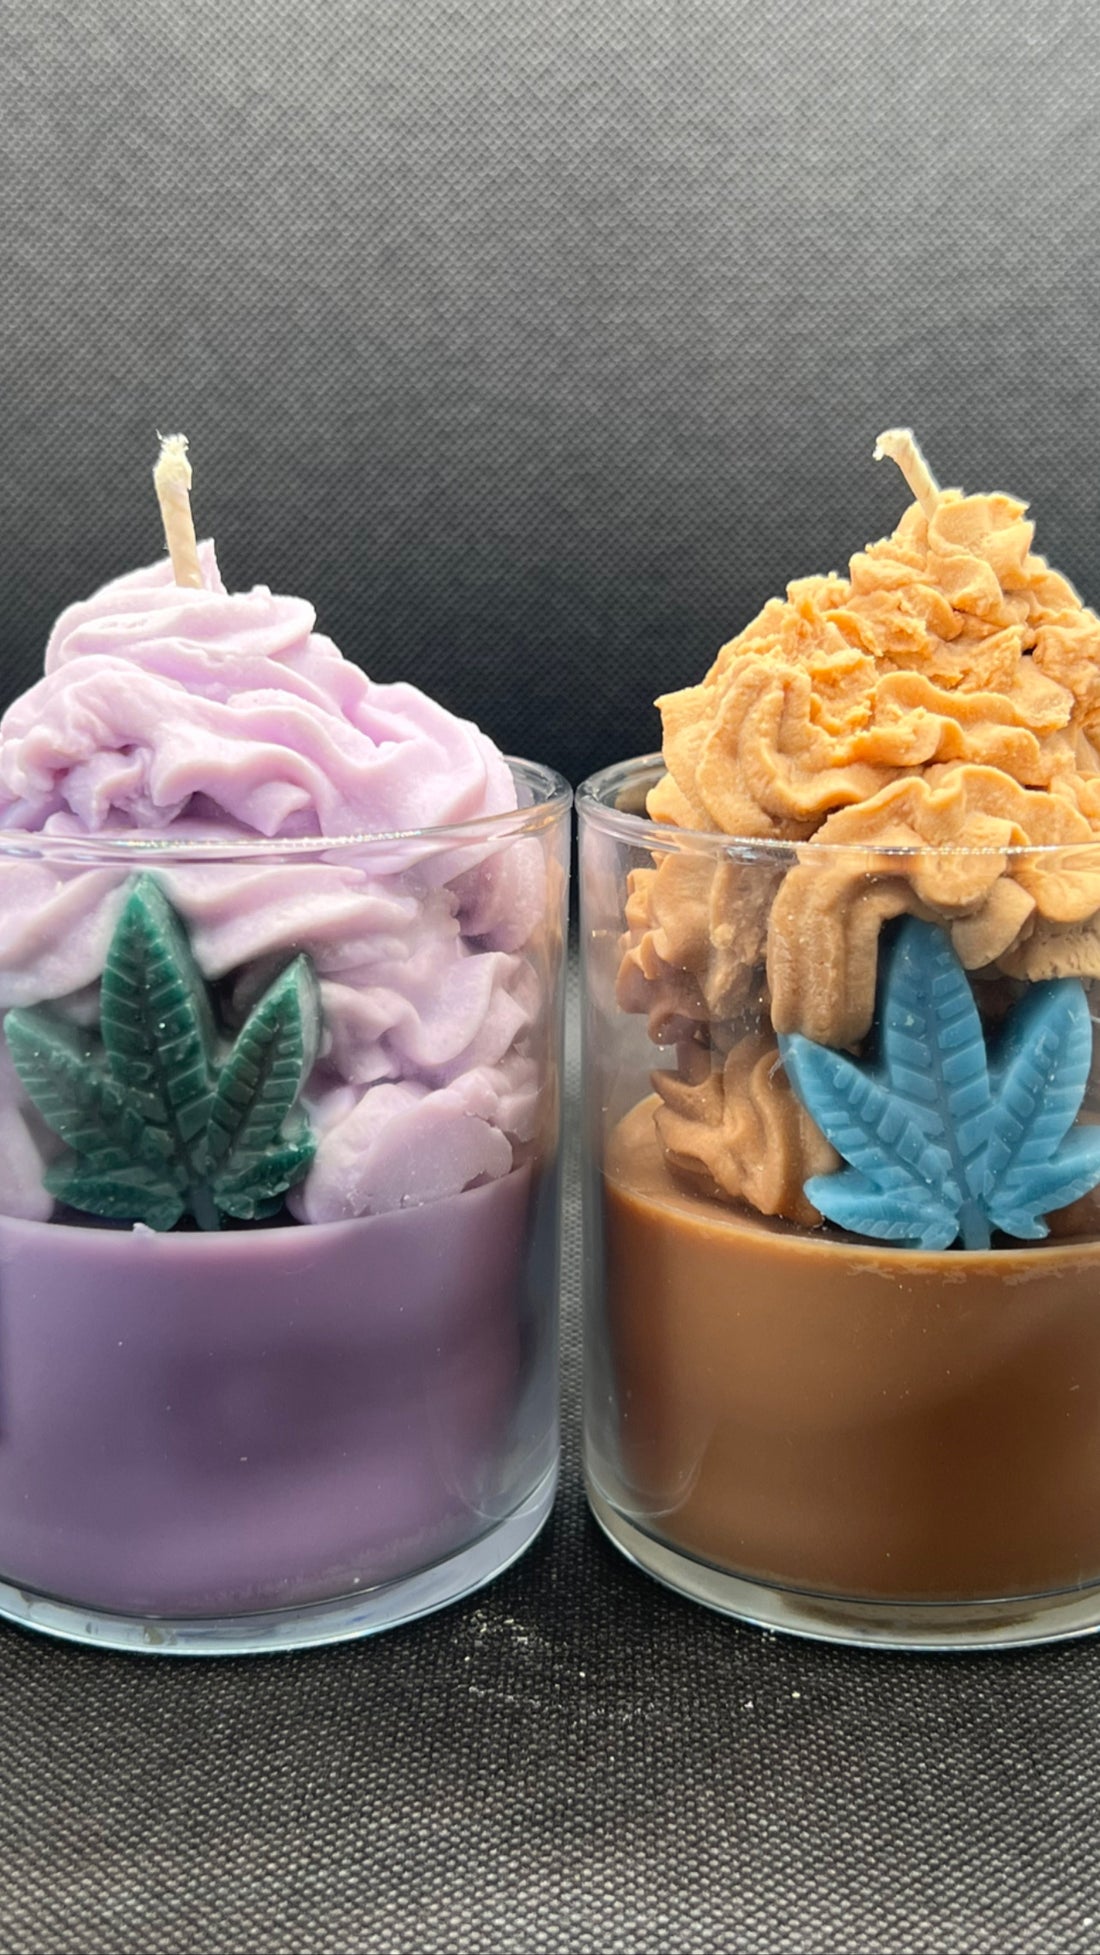
Whipped wax is a magical transformation that takes traditional candle-making to new heights. By whipping melted wax with air, you create a light, airy texture that adds a touch of whimsy to your candles. A lot of people associate whipped wax texture with the texture of frosting, and it is used in almost the exact way, except for the edible part! Think of it as sculpting with frosting – each candle becomes a work of art, infused with fragrance and charm.
Choosing the Perfect Wax
When it comes to whipped wax, not all waxes are created equal. For the fluffiest results, we recommend using soy wax. Soy wax has a creamy texture that whips beautifully and holds fragrance like a dream. Plus, it's eco-friendly, so you can feel good about your candle-making adventures.
Ingredients and Supplies
Before we dive into the delightful process of whipping wax, let's gather our ingredients and supplies:
- Soy wax flakes
- Fragrance oil or essential oil of your choice
- Candle dye (optional)
- Candle jars or molds
- Double boiler or melting pot
- Hand mixer or stand mixer
- Thermometer
- Piping bags
- Piping tips (experiment with different sizes and shapes!)
How to Whip Up Some Magic
-
Melt the Wax: Begin by melting your soy wax flakes in a double boiler or melting pot. Keep an eye on the temperature and stir gently until the wax is completely liquefied.
-
Add Fragrance and Color: Once your wax is melted, it's time to add fragrance oil or essential oil to delight your senses. If you're feeling adventurous, mix in some candle dye for a pop of color.
-
Whip It Good: Transfer the melted wax to a heat-resistant container and let it cool slightly. Then, using a hand mixer or stand mixer, whip the wax until it becomes light and fluffy, like whipped cream.
-
Fill Your Piping Bags: Once your wax is whipped to perfection, transfer it to piping bags for easy application. Experiment with different piping tips to create unique designs and textures.
-
Decorate Your Candles: Now comes the fun part – decorating your candles! Pipe the whipped wax onto the surface of your candles in swirls, peaks, or any design your heart desires. Get creative and let your imagination soar!
-
Let It Set: Allow your whipped wax candles to cool and harden completely before admiring your handiwork. Once set, trim the wick to the desired length and prepare to bask in the glow of your fluffy creations.
Whipped Wax Wisdom
- Experiment with different piping tips to discover which ones work best for creating your desired textures and designs.
- Mix and match fragrances and colors to create unique combinations that reflect your personality and style.
- Have fun and embrace the creative process – after all, there are no rules when it comes to whipped wax!
Final Thoughts
With a little creativity and a dash of imagination, whipped wax candles offer endless possibilities for candle-making enthusiasts. So grab your piping bags, whip up some magic, and let your candles take flight on a cloud of fragrance and charm. With each candle you create, you're not just crafting a decorative piece – you're crafting a moment of joy and delight for yourself and those around you. Happy whipping! 🕯️✨